Many logical columns are automatically created by dragging tables from the Physical layer to the Business Model and Mapping layer. Other logical columns, especially ones that involve calculations based on other logical columns, can be created later.
Logical columns are displayed in a tree structure expanded out from the logical table to which they belong. If the column is a primary key column or participates in a primary key, the column is displayed with the key icon. If the column has an aggregation rule, it is displayed with a sigma icon. You can reorder logical columns in the Business Model and Mapping layer.
- Creating and Moving a Logical Column
- Setting Default Levels of Aggregation for Measure Columns
- Associating an Attribute with a Logical Level in Dimension Tables
Creating and Moving a Logical Column
Use the General tab to create or edit the general properties of a logical column. You can create a logical column object in the Business Model and Mapping layer, and then drag and drop it to the Presentation layer.About Sorting on a Logical Column
For a logical column, you can specify a different column on which to base the sort. This changes the sort order of a column when you do not want to order the values lexicographically. Lexicographical sort arranges the results in alphabetic order such as in a dictionary. In this type of sort, numbers are ordered by their alphabetic spelling and not divided into a separate group.For example, if you sorted on month (using a column such as MONTH_NAME), the results would be returned as February, January, March, and so on, in lexicographical sort order. However, you might want months to be sorted in chronological order. Therefore, your table should have a month key (such as MONTH_KEY) with values of 1 (January), 2 (February), 3 (March), and so on. To achieve the desired sort, you set the Sort order column field for the MONTH_NAME column to be MONTH_KEY. Then a request to order by MONTH_NAME would return January, February, March, and so on.- In the Business Model and Mapping layer, right-click a logical table.
- From the shortcut menu, select New Object > Logical Column.
- In the Logical Column dialog box, select the General tab.
- In the General tab, type a name for the logical column.
- (Optional) If you want to assign a different column on which to base the sort order for a column, perform the following steps:
- (Optional) To remove the Sort order column value, click Clear.
- (Optional) If you want the logical column to be derived from other logical columns, perform the following steps:
- (Optional) In the Logical Column dialog box, type a description of the logical column.
- Click OK.
- In the Business Model and Mapping layer, drag and drop a logical column to a different logical table.
- In the Sources for moved columns dialog box, in the Action area, select an action.
- If you select Ignore, no logical source will be added in the Sources folder of the destination table.
- If you select Create new, a copy of the logical source associated with the logical column will be created in the Sources folder of the destination table.
- If you select Use existing, in the Use existing drop-down list, you must select a logical source from the Sources folder of the destination table. The column that you moved or copied will be associated with this logical source.
Create Logical Columns
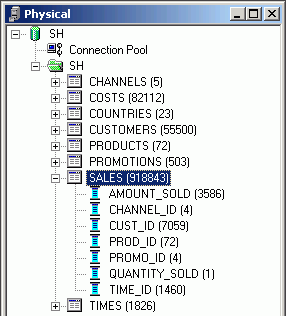
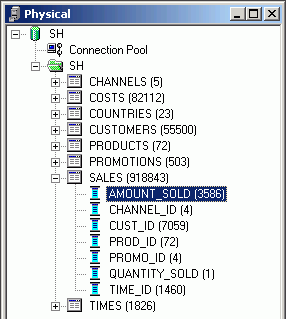
To create a logical column, perform the following steps:1. In the Physical layer, expand the Sales physical table.
2. Select the column AMOUNT_SOLD.
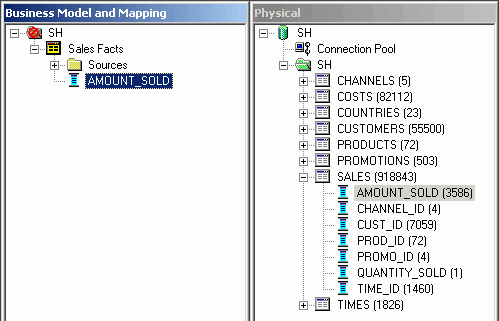
3. Drag the AMOUNT_SOLD column from the Physical layer to the Sales Facts logical table in the Business Model and Mapping layer. A new AMOUNT_SOLD logical column is added to the Sales Facts logical table.
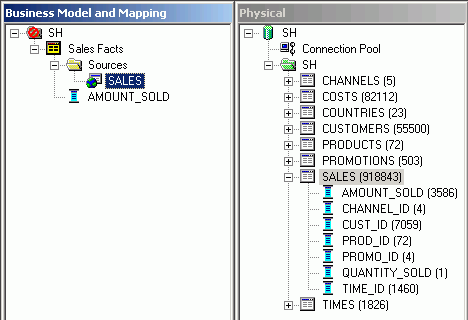
4. Expand the Sources to see the logical table source that was created automatically when you dragged the AMOUNT_SOLD column from the Physical layer. Logical table sources define the mappings from a logical table to a physical table. A logical table’s Sources folder contains the logical table sources. Because you dragged a column from the Physical layer, the logical table source name, SALES, is the same name as the physical table. However, it is possible to change names in the Business Model and Mapping layer without impacting the mapping.
5. In the Business Model and Mapping layer, double-click the AMOUNT_SOLD logical column to open the Logical Column dialog box.
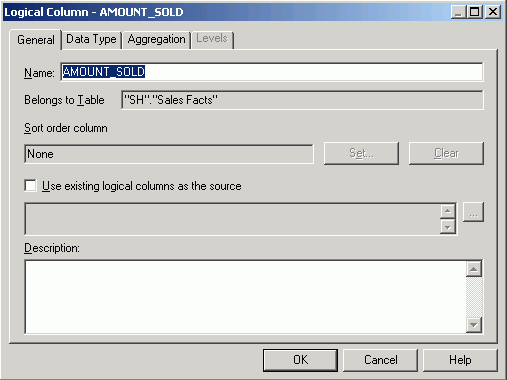
6. Click the Aggregation tab.
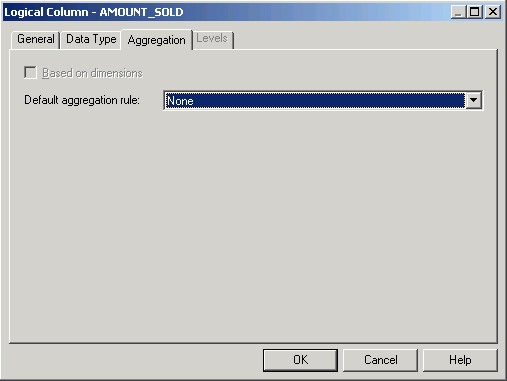
7. In the Default aggregation rule drop down list, select SUM.

8. Click OK to close the Logical Column dialog box. Notice that the logical column icon is changed to indicate an aggregation rule is applied.


No comments:
Post a Comment